toddler dress upholstered lamp shade
Not thrilled by the idea of sewing lampshade covers I checked out paint hacks, ribbon hacks, and even paper hacks to change the look of this lampshade for my second born’s big girl room. And then, while looking at a dress she and her sister had worn that I thought I was going to use to make a pillow I thought “oh, it’s too flared to make a square pillow…” and promptly shoved it onto the lampshade.

This is a bedside lampshade, and a size 2T toddler dress. I had always loved the scallops and thought they’d be an adorable accent. AND THEY ARE.

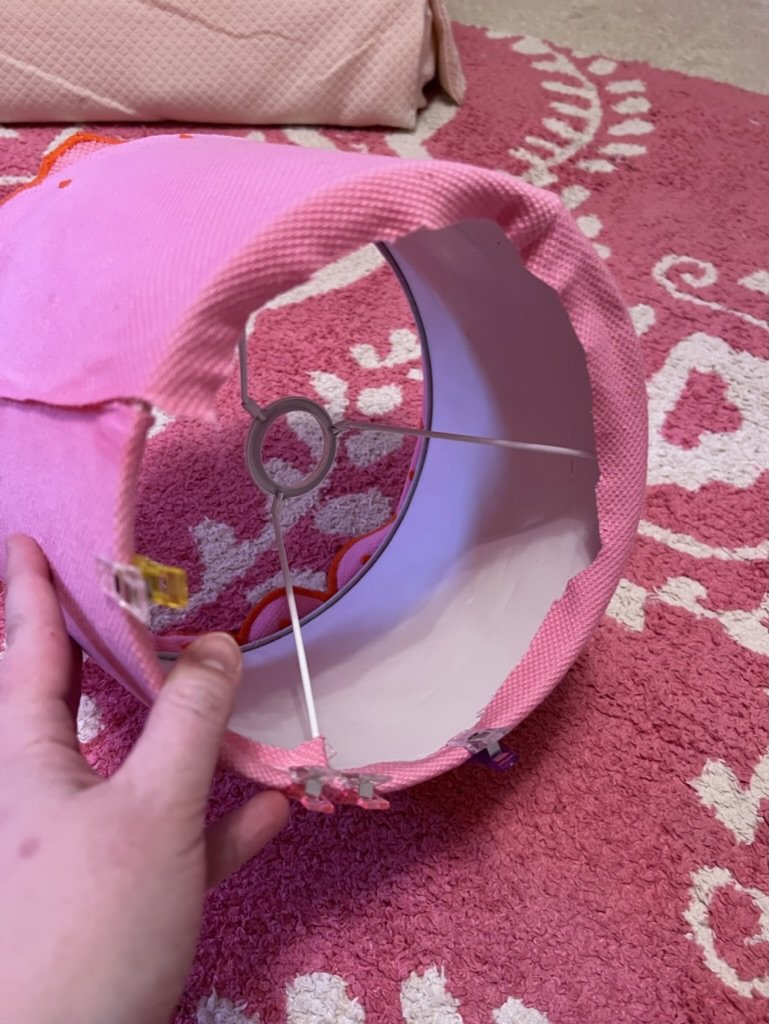
I pulled the sewed in slip out of the dress and then fitted it onto the lampshade.

I cut one of the dress’ side seams…

And then fray checked both cut edges and let them dry.

I cut the top of the fabric off leaving about half an inch to fold over the top to glue. I used upholstery spray adhesive but it showed through the fabric so I would suggest a thin coat of a clear fabric adhesive around the shade. Slowly wrap the shade in fabric, smoothing it flat.
I used sewing clips to hold the fabric on but you could just as easily use binder clips or clothespins.
I cut a small slit in the fabric around each arm of the lampshade and then used fast tack glue in a very thin line on the top to secure the top edge of the fabric.

I put clips around the top and let everything dry.

The ruffles I loved looked a little limp so I used a trick from my mom’s box of tricks (literally…I think the bottle of Stiffen Stuff was bought circa 1995)

Saturate your fabric and as it starts to stiffen form it into the shape you want. For the ruffles I pulled them down and smoothed them out and held them gently for 20-30 seconds until they held (you’ll be able to tell as the fabric starts to stiffen, almost like it’s drying starched).

Next time I’ll use a white base and I’m considering putting some trim across the top to not see the fold over as much but I LOVE how it turned out and so does the big girl whose room it is!
